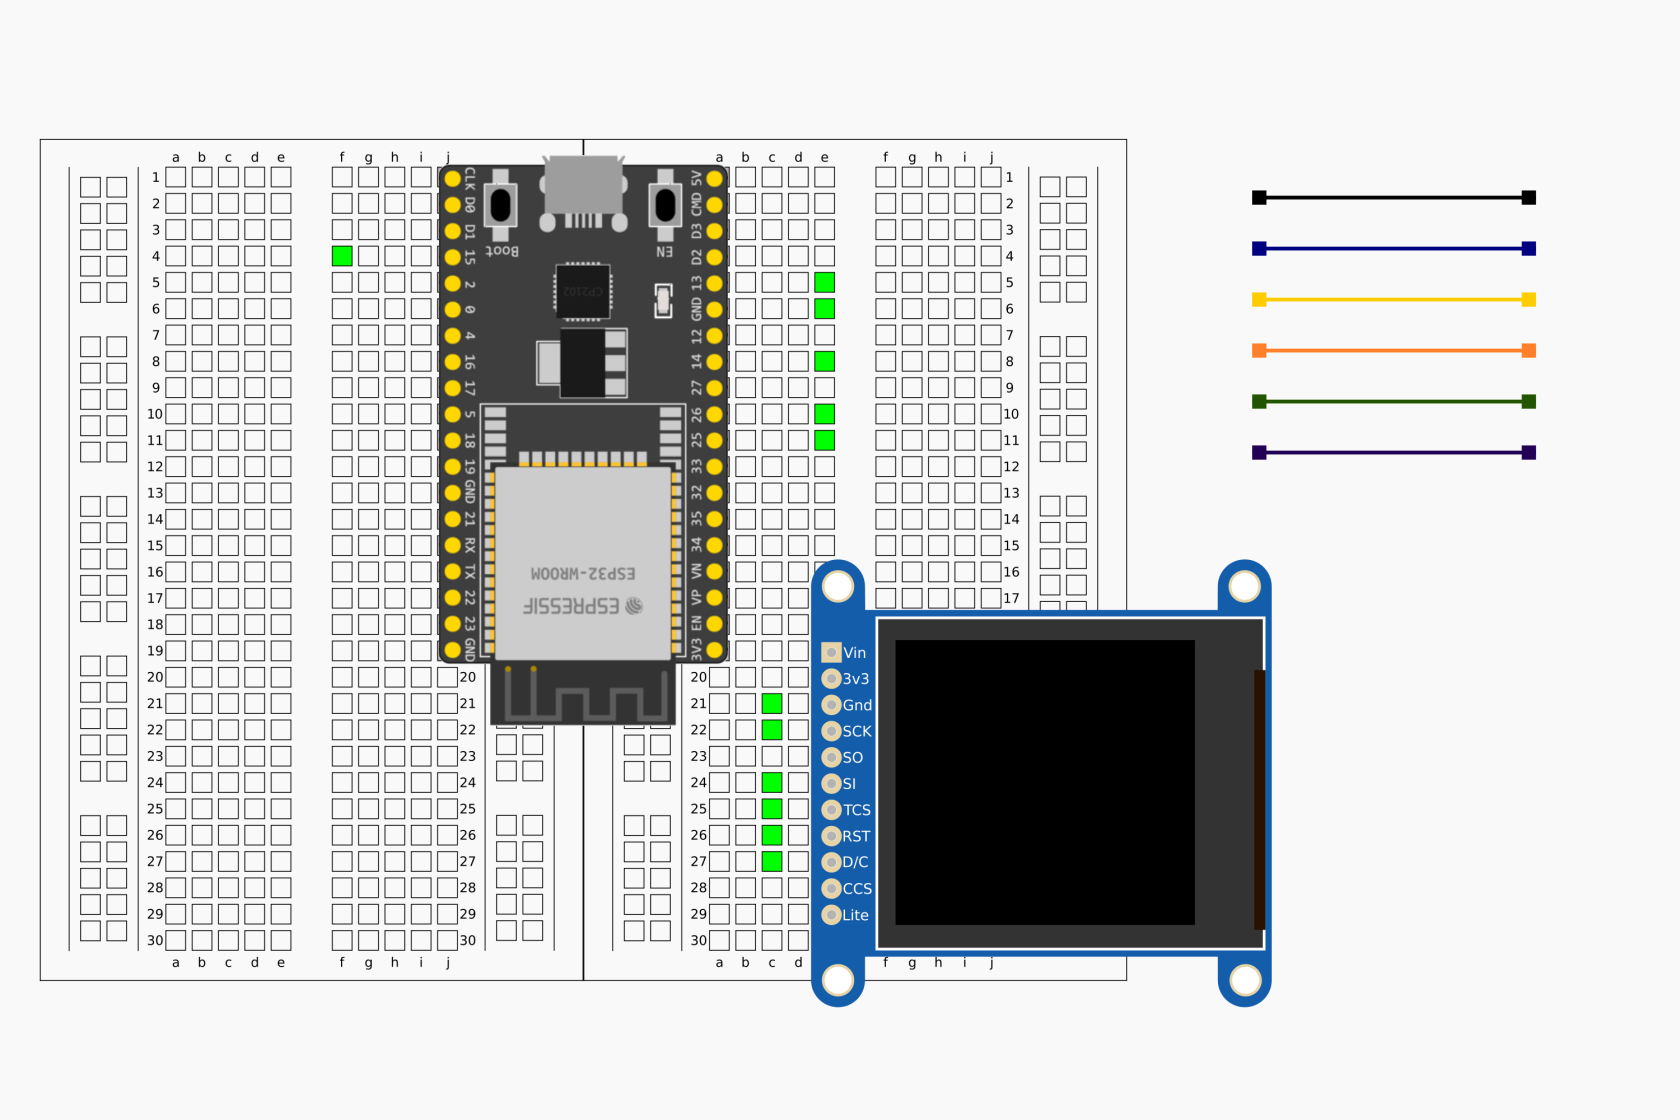
| [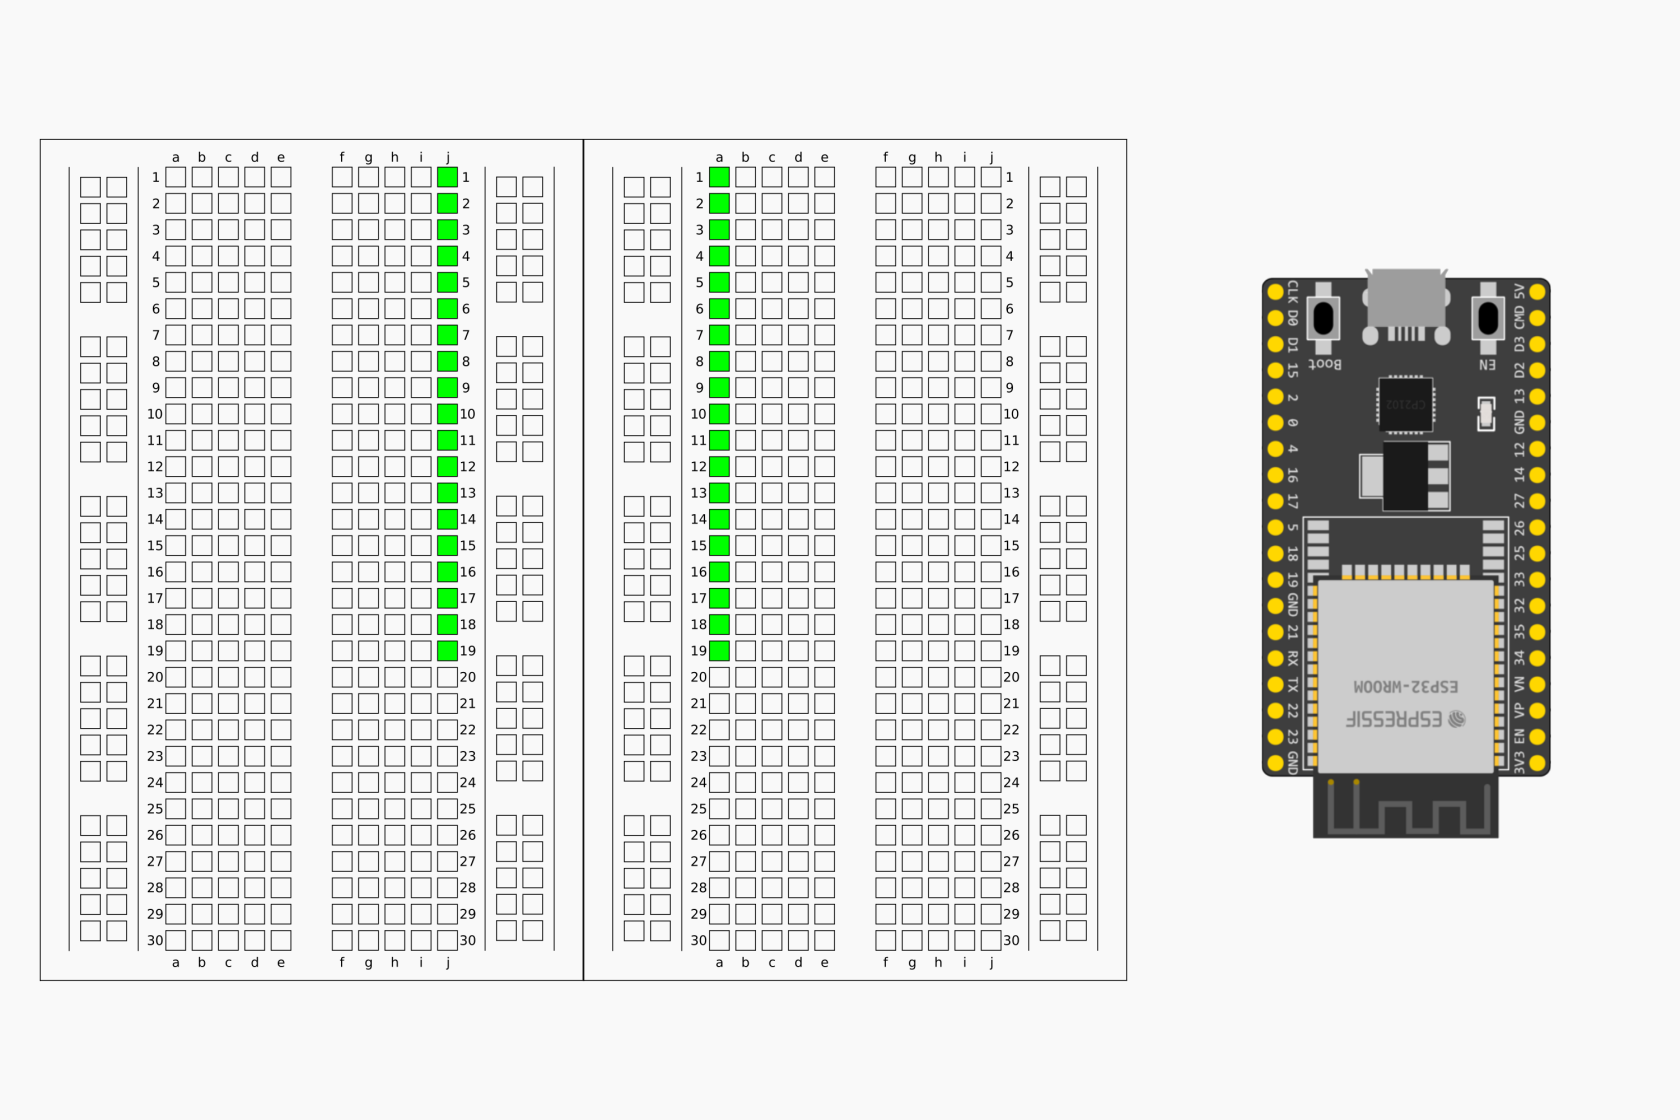](https://kb.deec.uc.pt/uploads/images/gallery/2023-08/7-montagem-a.png) | [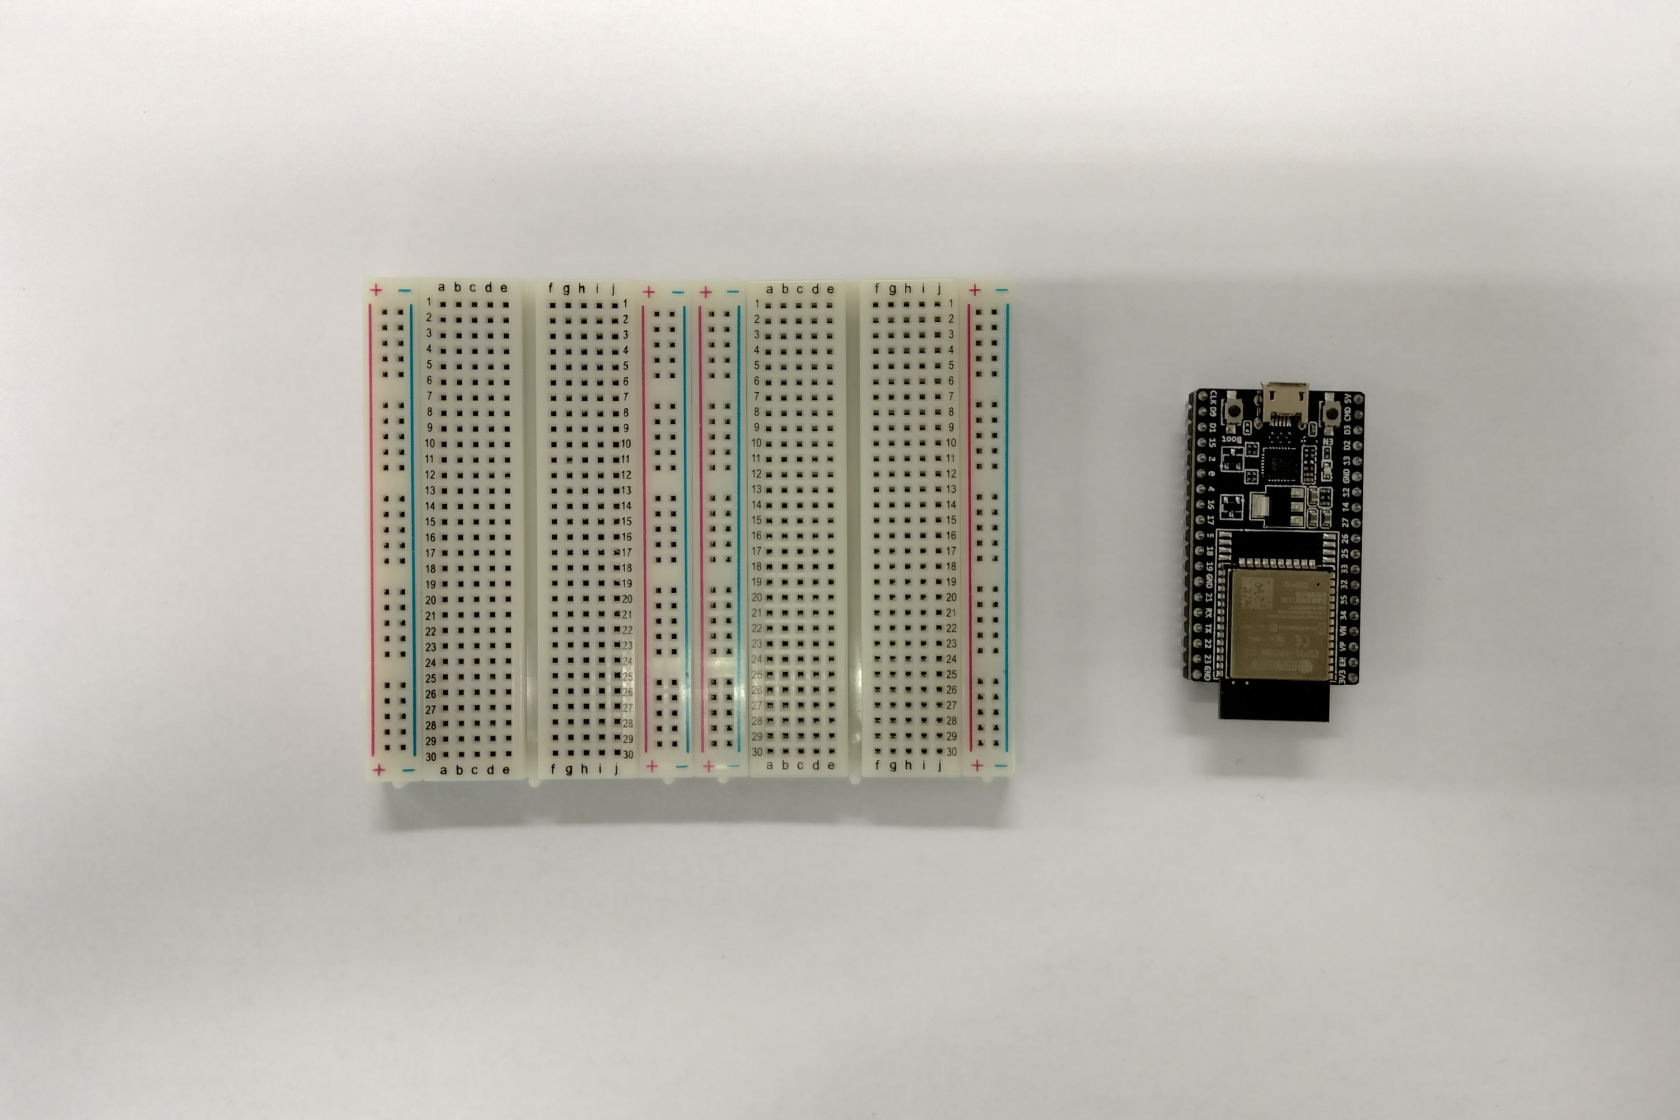](https://kb.deec.uc.pt/uploads/images/gallery/2023-08/7-img-a.png) |
| [](https://kb.deec.uc.pt/uploads/images/gallery/2023-08/7-montagem-b.png) | [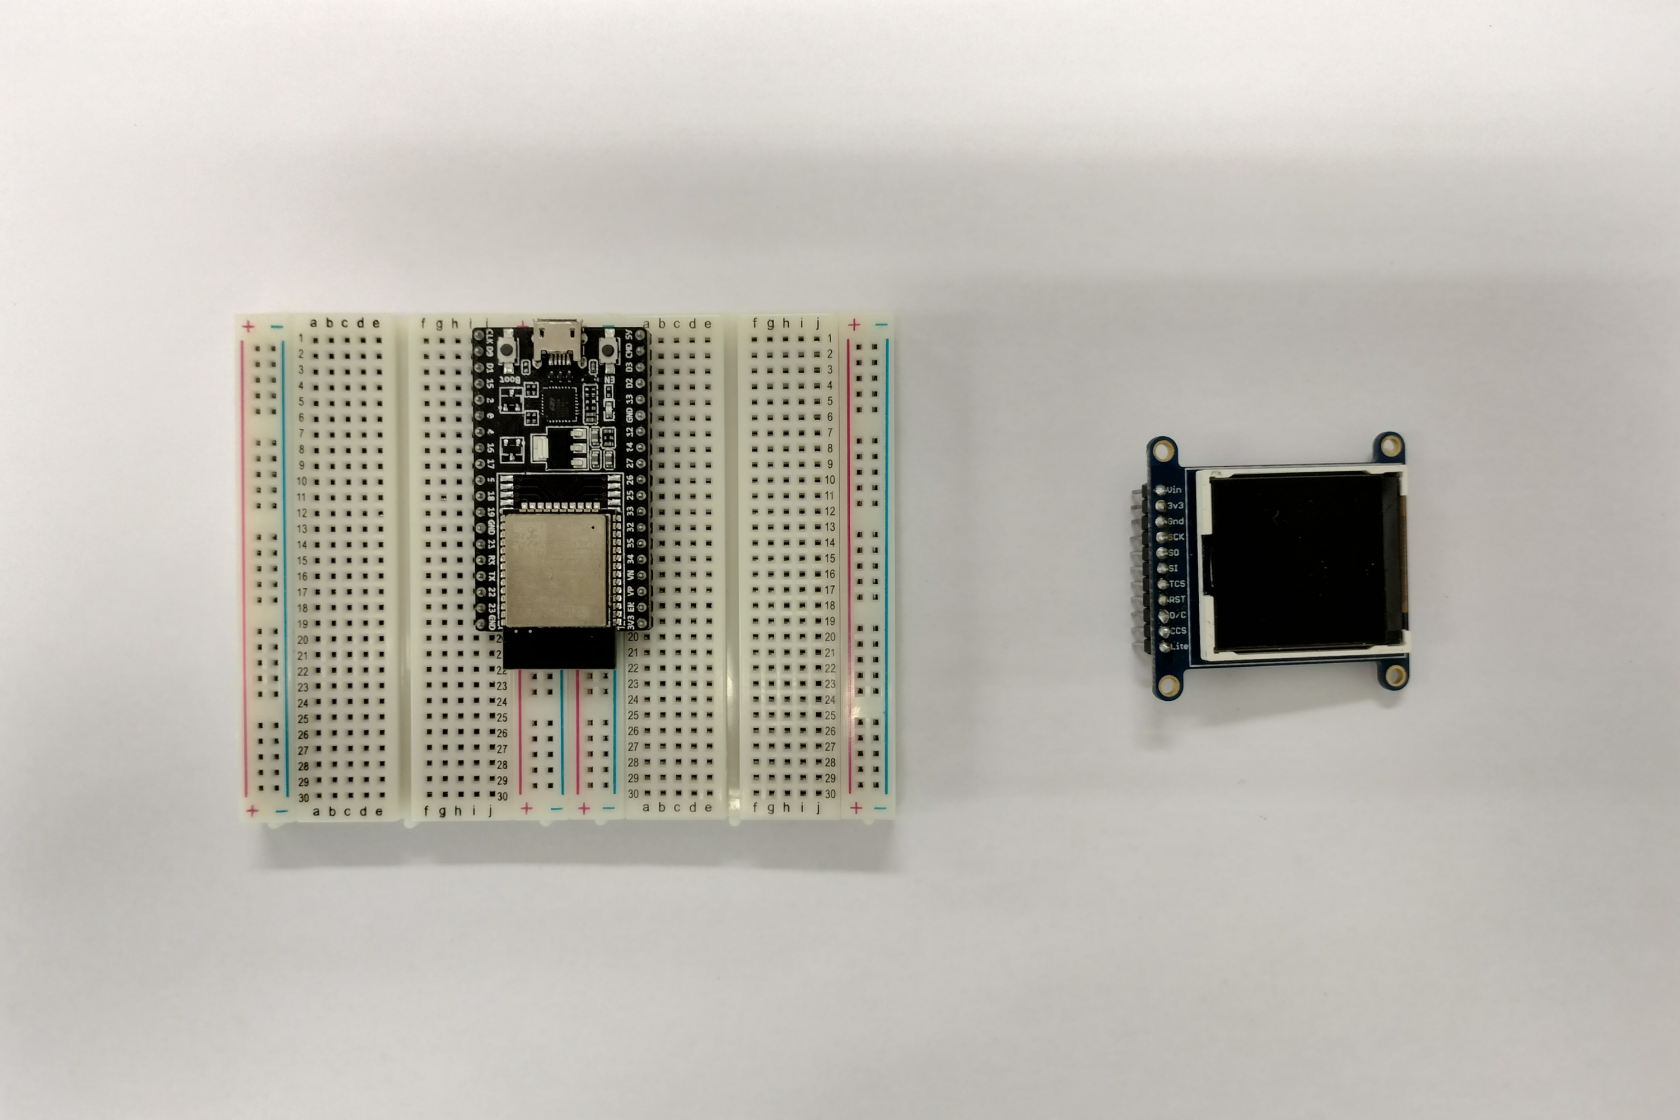](https://kb.deec.uc.pt/uploads/images/gallery/2023-08/7-img-b.png) |
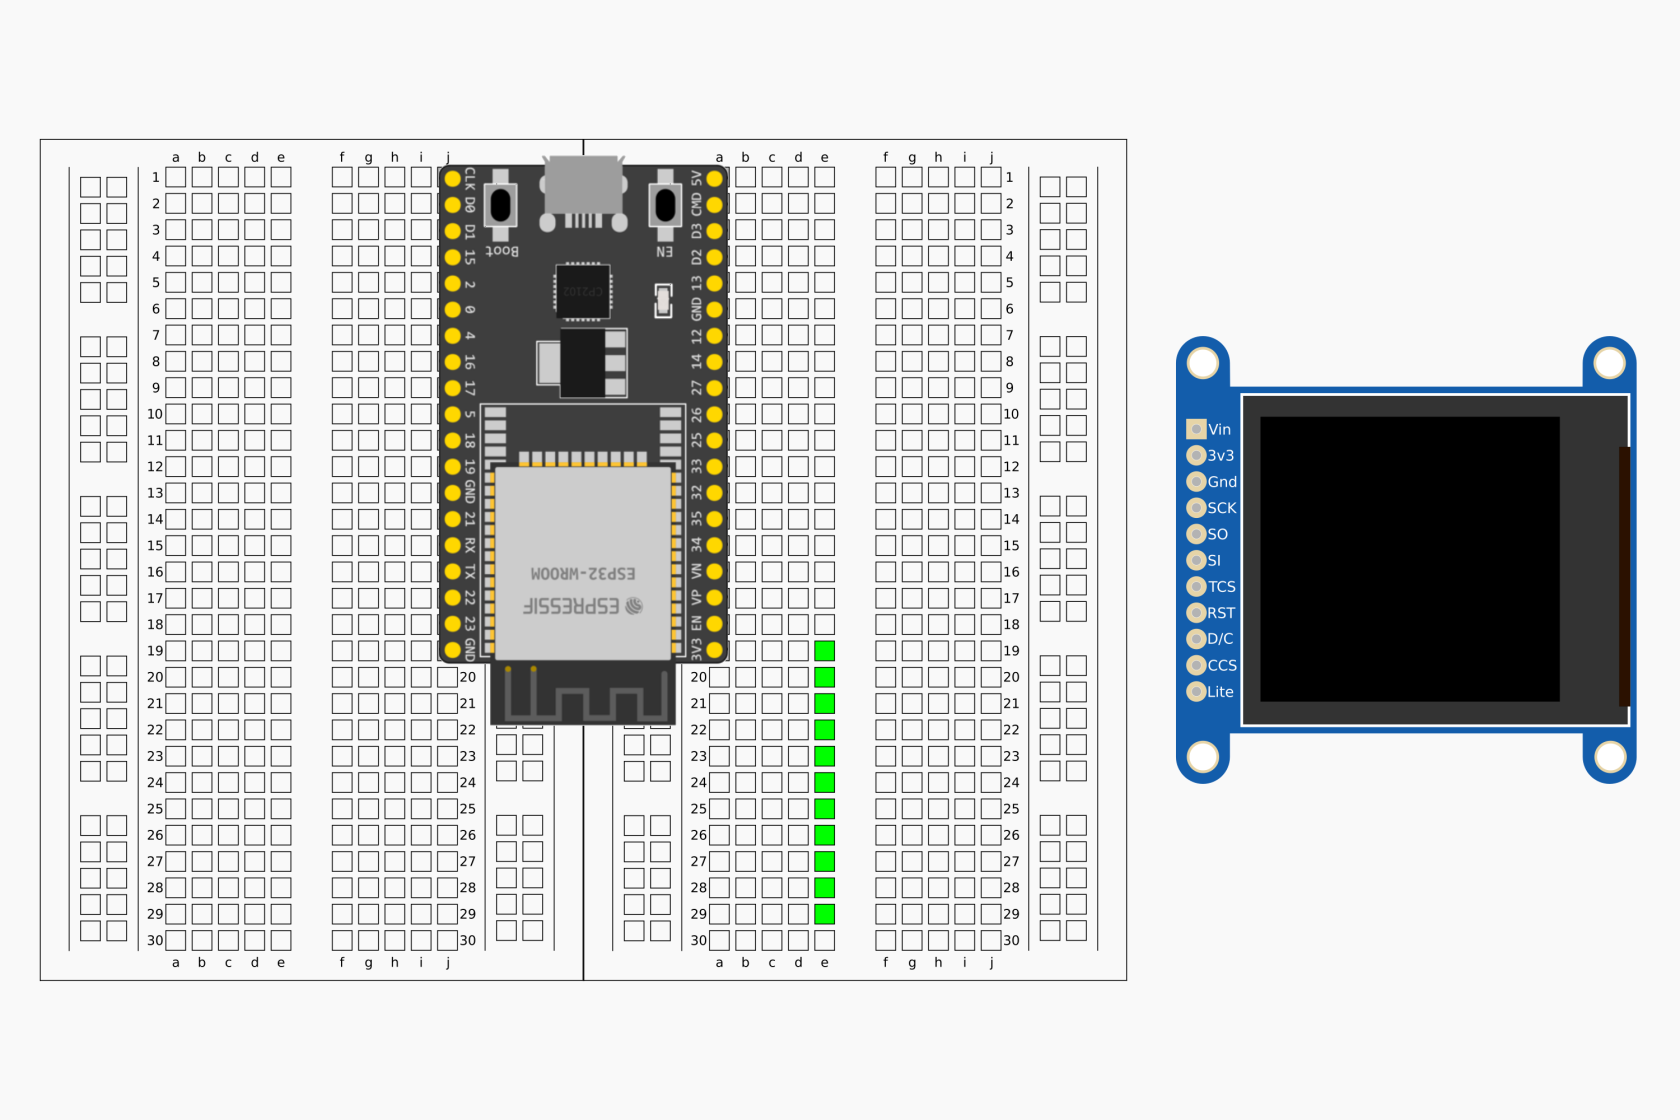
| [](https://kb.deec.uc.pt/uploads/images/gallery/2023-08/7-montagem-c.png) | [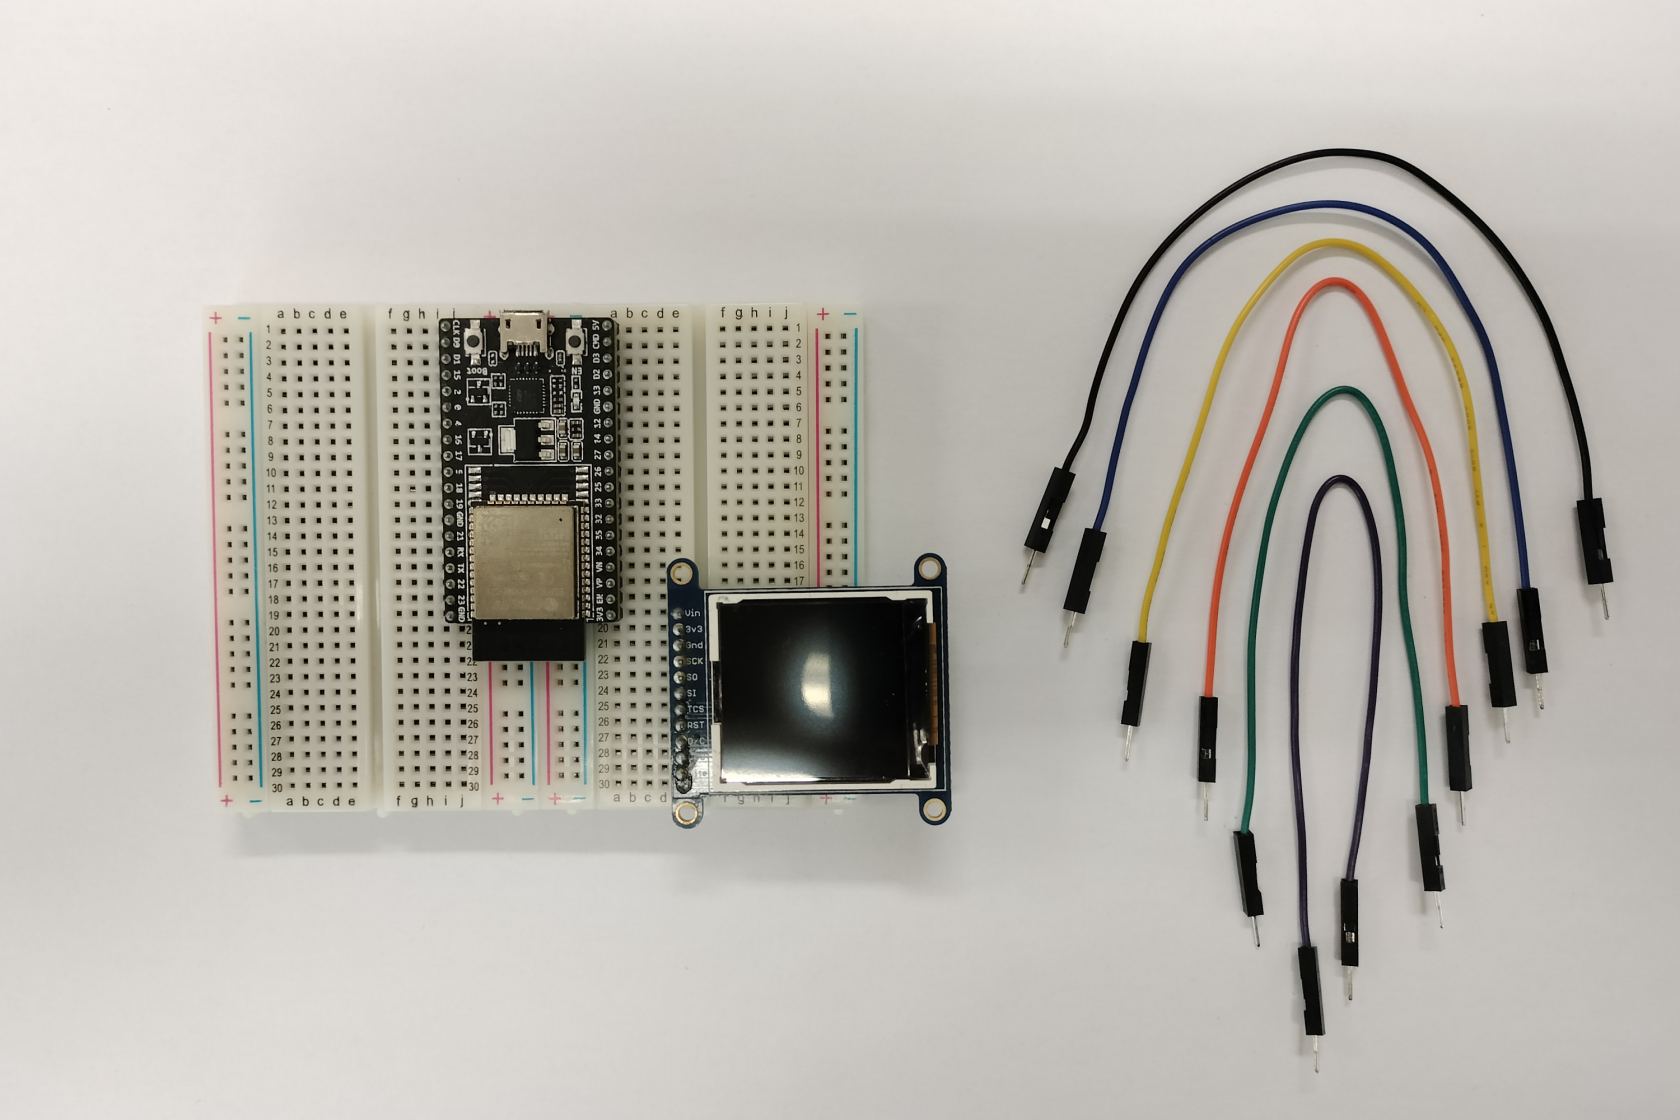](https://kb.deec.uc.pt/uploads/images/gallery/2023-08/7-img-c.png) |
| [](https://kb.deec.uc.pt/uploads/images/gallery/2023-08/7-montagem-d.png) | [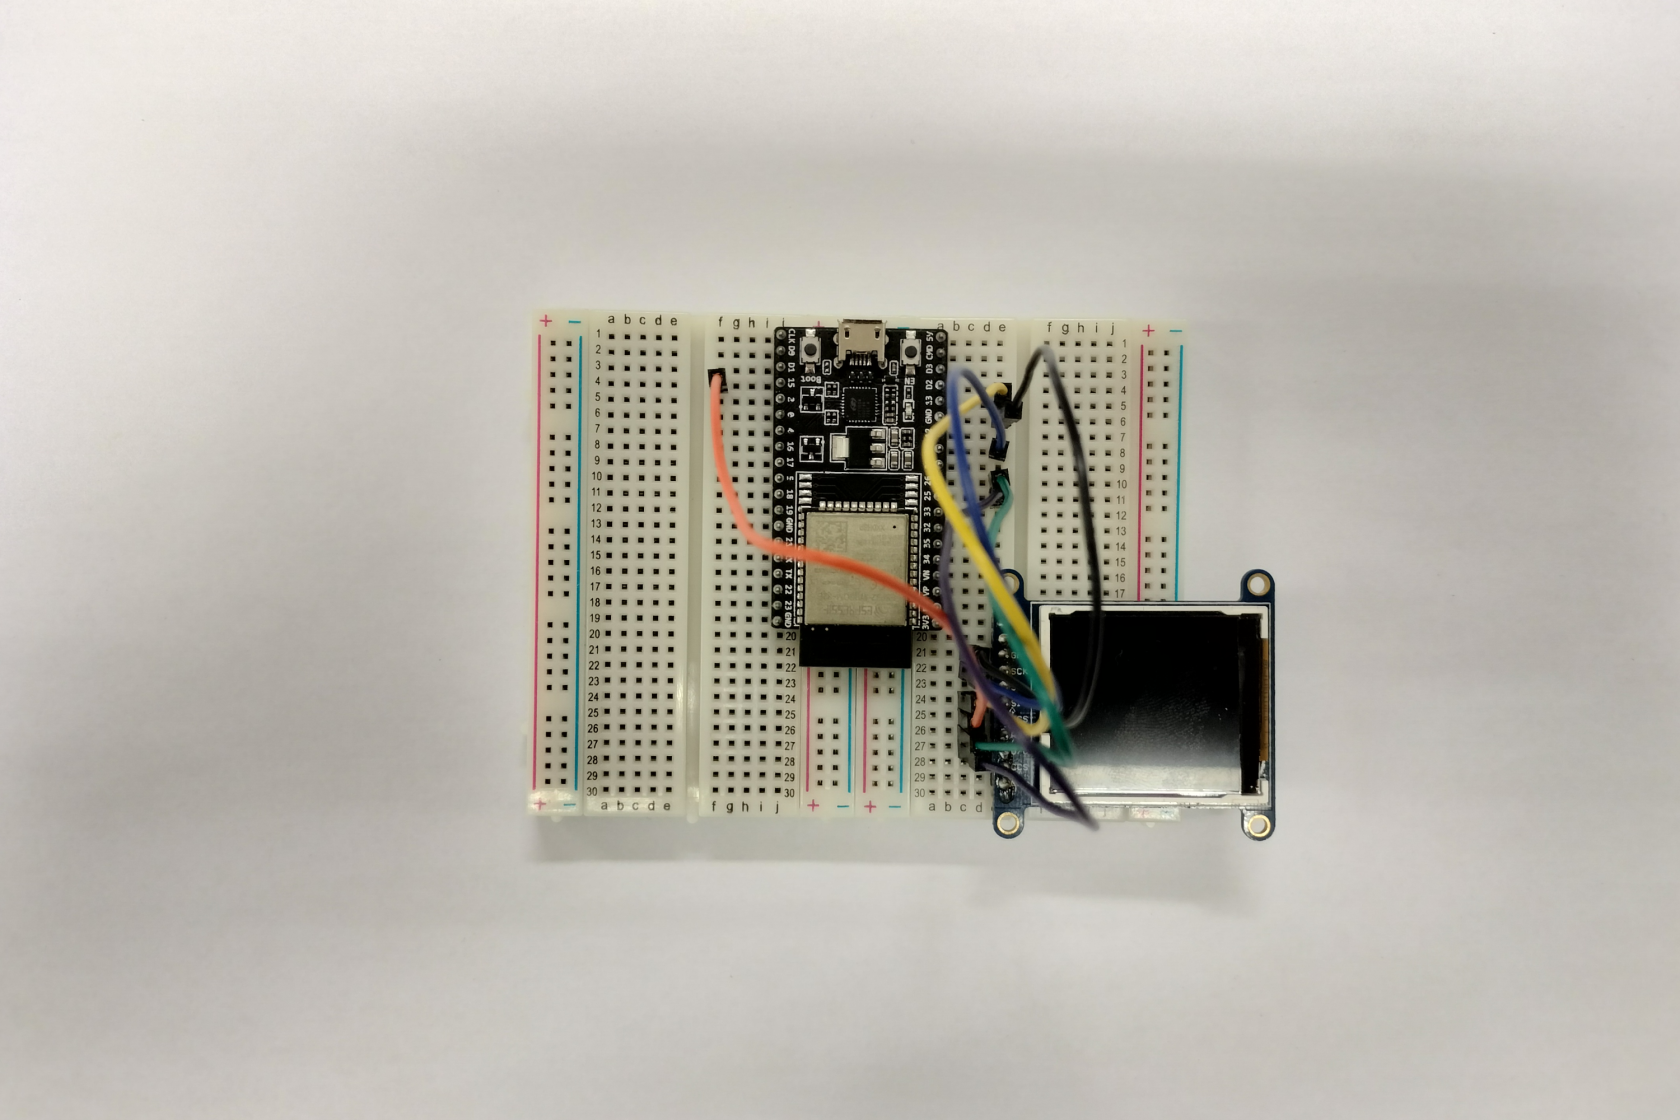](https://kb.deec.uc.pt/uploads/images/gallery/2023-08/7-img-d.png) |