# OpenVPN Manual for Ubuntu
##### OpenVPN Installation, Configuration and Execution Manual on Ubuntu 18.04.2 LTS
### **Introduction:**
This document will present, step by step, the installation, configuration and execution of OpenVPN on the Ubuntu operating system.
**Preparation:**
Before starting the installation and configuration of OpenVPN on your computer, you should check the following point:
Have an account for the configuration of OpenVPN, which is requested from the Management Office of the Computer Network.
### **Installation:**
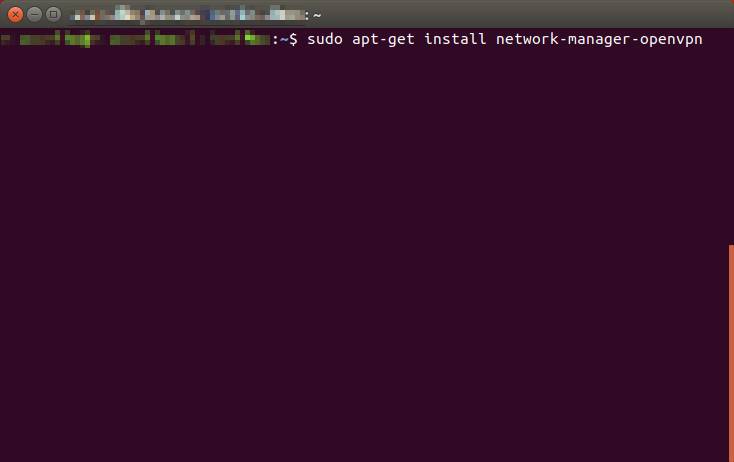
To use *OpenVPN* just run the following command “**$ sudo apt-get install network-manager-openvpn-gnome**”.
When the installation is complete, restart the network-manager service.
### **Configuration:**
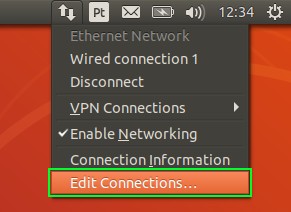
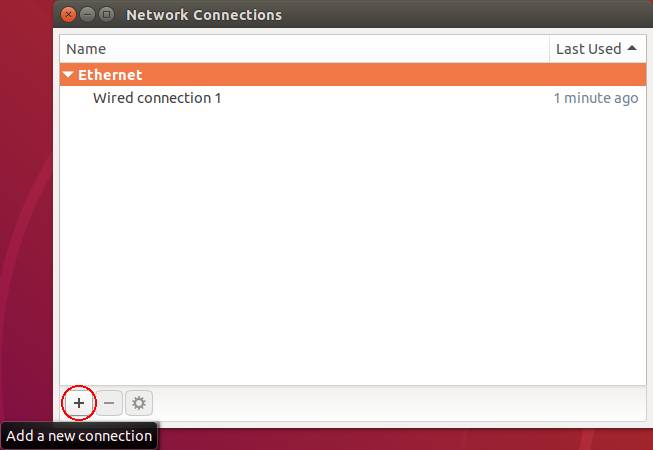
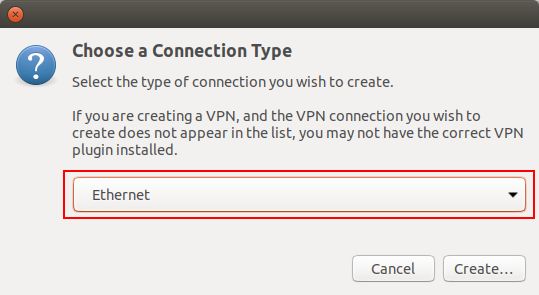
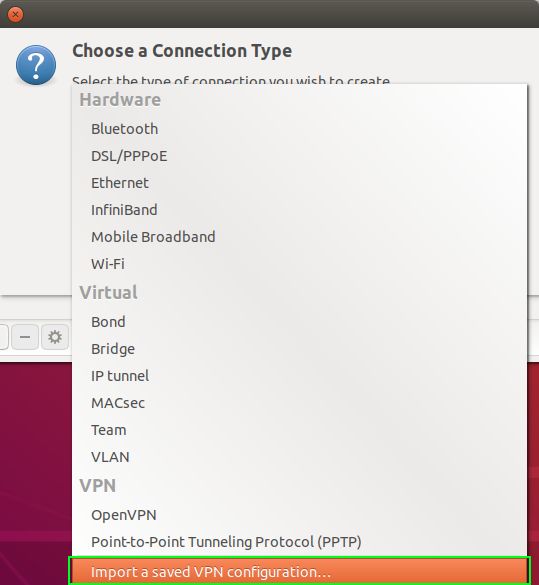
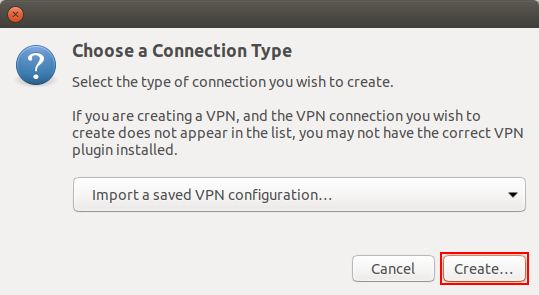
For configuration, you must download [ISR.ovpn](https://kb.deec.uc.pt/attachments/6?open=true). Use the mouse to go to the network manager icon to go to “***Edit Connections …***”, then “***Add a new connection***” and create a connection with “***Import a saved VPN configuration…***”.
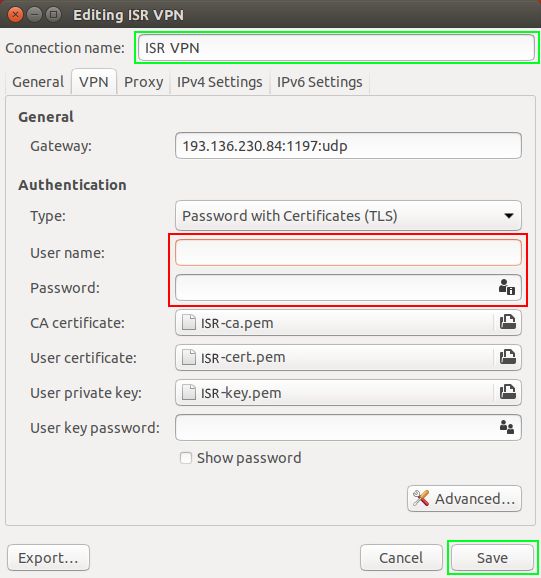
Then select the ISR.ovpn file and enter the IT credentials. If you want, you can change the Connection name to an easier name to identify the ISR VPN.

**Execution:**
Finally select the network manager icon, go to VPN Connections and select the created VPN.